Building Boats in the Golden Age

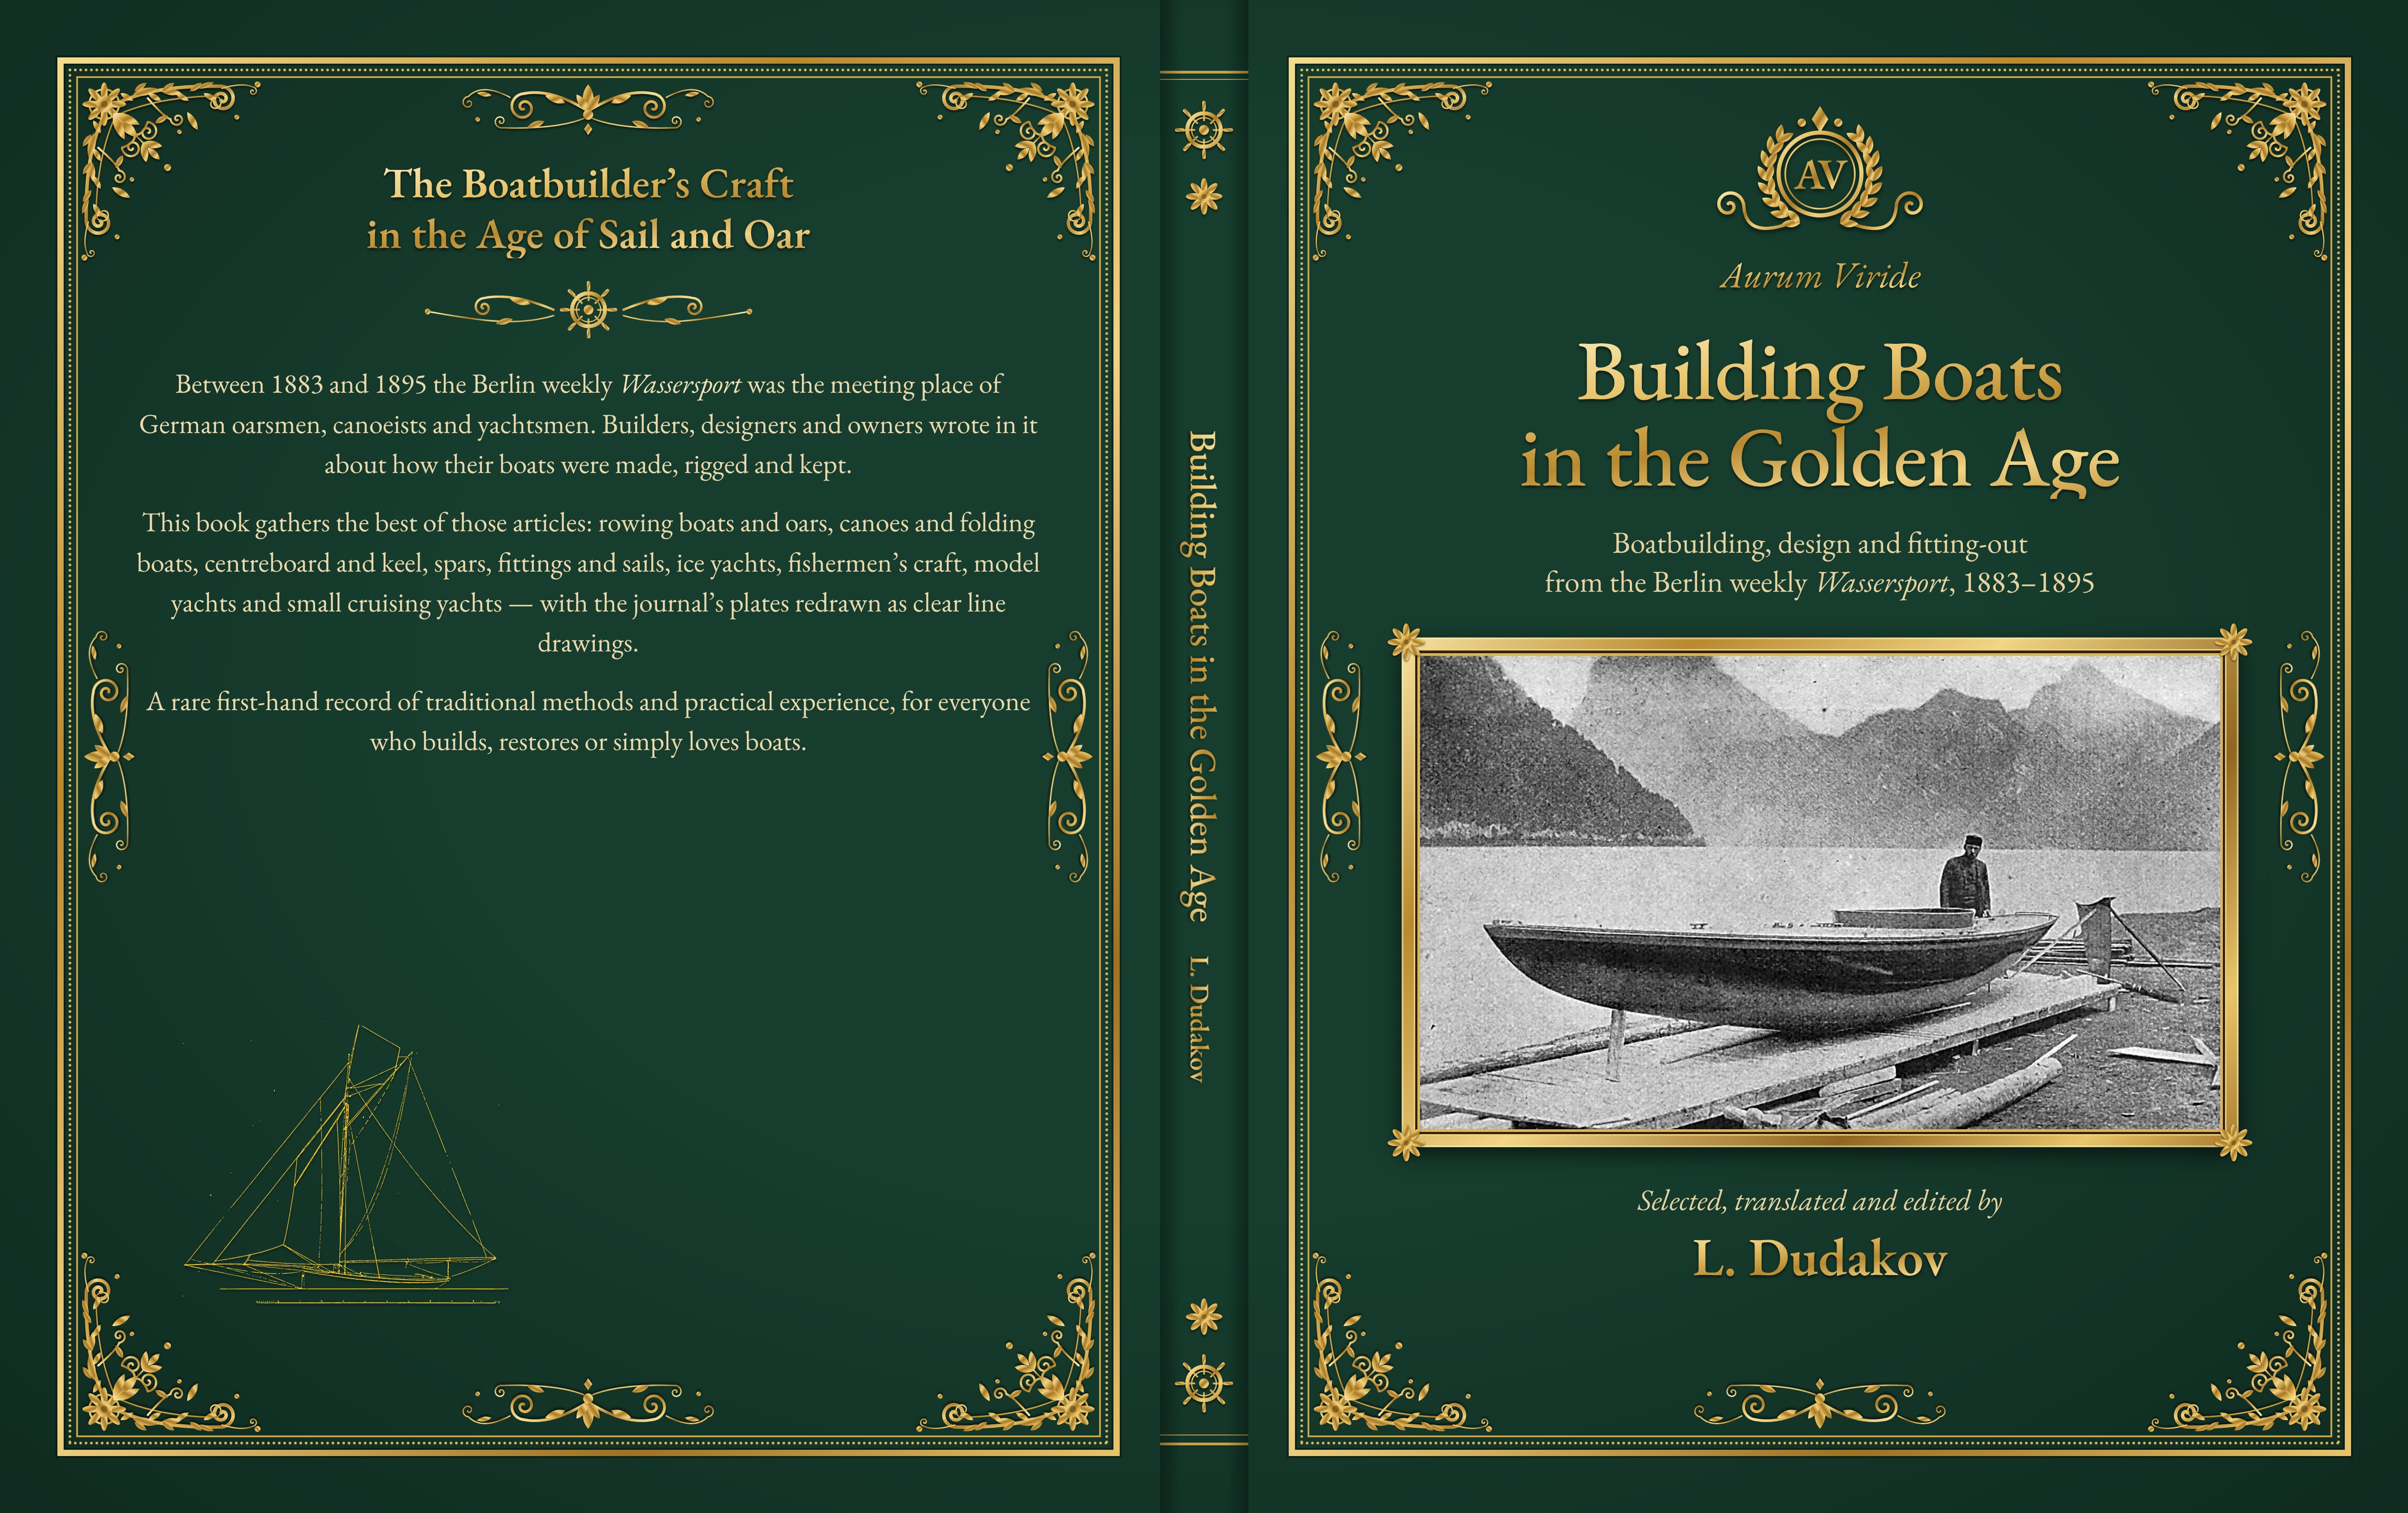
Building Boats in the Golden Age

Boatbuilding, design and fitting-out from the Berlin weekly Wassersport, 1883–1895

Selected, translated and edited by L. Dudakov

Language
English
Pages
293
Format
8.5 × 11 in
Paperback · E-book

The Boatbuilder’s Craft in the Age of Sail and Oar

Between 1883 and 1895 the Berlin weekly Wassersport was the meeting place of German oarsmen, canoeists and yachtsmen. Builders, designers and owners wrote in it about how their boats were made, rigged and kept.

This book gathers the best of those articles: rowing boats and oars, canoes and folding boats, centreboard and keel, spars, fittings and sails, ice yachts, fishermen’s craft, model yachts and small cruising yachts — with the journal’s plates redrawn as clear line drawings.

A rare first-hand record of traditional methods and practical experience, for everyone who builds, restores or simply loves boats.

Coming soon

This book in other languages: Deutsch · Русский

Look inside

  • Look inside 1
  • Look inside 2
  • Look inside 3

Preface

In January 1883 a new sporting weekly appeared in Berlin. Wassersport set out to serve the oarsman, the sailor, the swimmer and the skater, and for the next decade and more it reported their regattas, argued about their rules and recorded their club dinners. It also did something rarer: it taught its readers how boats were built.

The years it covers were a golden age of the small boat. In Germany sailing was passing from a handful of wealthy owners on the Elbe and the Kiel fjord to clerks, students and engineers on the lakes around Berlin. Boatbuilders’ yards multiplied at Stralau, Köpenick and on the Wannsee; new clubs were founded every season. Abroad, the cutter and the centreboarder were fighting out their long quarrel, the canoe had become a sport of its own, ice yachts were racing on the Hudson and the Gulf of Kronstadt, and in 1891 a blind man’s yard in Rhode Island launched Gloriana and changed yacht design within a single summer. Wassersport followed all of it, and much of what it printed was practical: how to plank a clinker boat, how to choose an oar or a piece of oak, how to lay up a yacht for the winter, how to build a sail sledge from three planks.

This book gathers that practical material. Its sixteen chapters run roughly from the hull to the rig and from the rowing boat to the racing yacht: first how to read a set of lines and how a clinker boat is put together, then timber and its care, rowing boats and oars, light and folding boats and canoes; then the working boats of the coasts, small sailing boats, the argument over centreboard and keel, the Berlin centreboard yachts and small cruisers, and the Gloriana year; finally spars and fittings, ice yachts and model yachts. Within each chapter the articles stand in the order in which the journal printed them, so that the reader can watch ideas arrive, be argued over and be built.

The articles are translated in full wherever they bear on building; reports of races, club news and passages of pure polemic have been left out or summarised. The authors wrote for readers who knew the boats in front of them, and their German is often technical, sometimes regional and occasionally careless. I have kept their measurements and their names for things, adding an English equivalent where the original term would mislead. Where the journal’s figures do not agree with one another, or where the scan of a page could not be read with certainty, the fact is stated in a footnote rather than silently corrected. Every drawing has been redrawn from the journal’s plates as clean line work, keeping the original’s lines and leaving out the stains, show-through and broken type of a century and a half.

The men who wrote these pages — boatbuilders, naval officers, engineers, amateurs who signed themselves with initials — were working out by hand and by trial what is now taken for granted. Their boats are almost all gone. Their drawings and descriptions remain, and many of the boats could still be built from them.

— L. Dudakov
Read an excerpt

The opening pages of a chapter.

CHAPTER TWO

Building a Clinker Boat,
Step by Step

The pleasure boat and how it is built — Th. Hein, 1885

In January 1885 Wassersport opened a series that its editors promised would explain, “drawing by drawing,” how the pleasure boats of the day were actually put together. Its author, Th. Hein, was a practical man; he writes for the amateur who has a shed, a few good tools and the patience to follow instructions, and he takes the reader from the choice of workshop to the last fitting of the rowing seats.

The series ran in six instalments between January and November 1885. It is printed here complete, in a new translation, with every original figure redrawn. Measurements are given as Hein gave them, in metric units, with imperial equivalents added in brackets. Words that a modern builder may not know are explained in the footnotes. — L. Dudakov

I. Three ways of planking

Under this heading we intend to publish a series of drawings of boats of various build and arrangement, together with explanations of how they are actually built. We assume that the subject will interest yacht and boat owners, boatbuilders and our wide circle of readers alike: these are our favourites, in which we spend so many happy hours and to which we often trust our lives, and it is well worth the trouble to know them a little better. Our first task shall be to explain, in practical terms, the pleasure boats used in the so-called smaller sport and the different ways in which they are built.

By the manner of planking, three kinds of pleasure boat are distinguished: the clinker-built, the carvel-built and the diagonal-built boat.

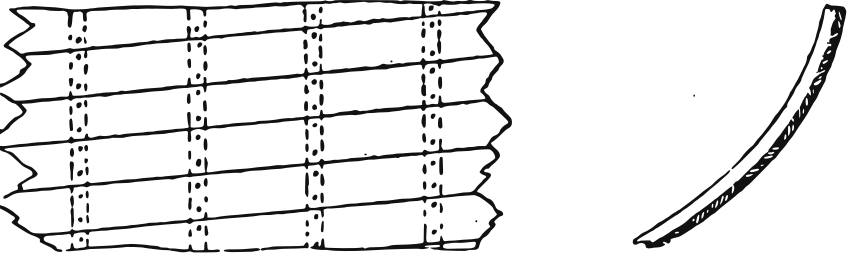
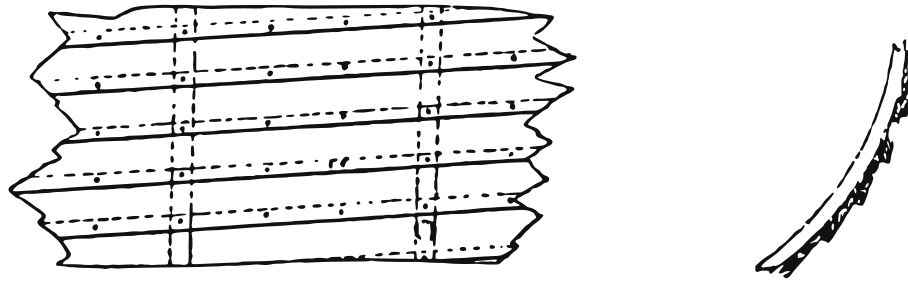
Fig. 1. Clinker build. Side view (left) and cross-section (right).

In clinker building (Fig. 1) the planks are joined by laying each strake so that it overlaps the one below. They are fastened with copper or galvanised iron nails, which are riveted over small washers, called roves.

Fig. 2. Carvel build. Side view and cross-section. The two dotted lines mark a frame.

In carvel building (Fig. 2) the strakes meet edge to edge. The frames are solid timbers, sawn to the shape of the boat; the two dotted lines in the figure show one of them.

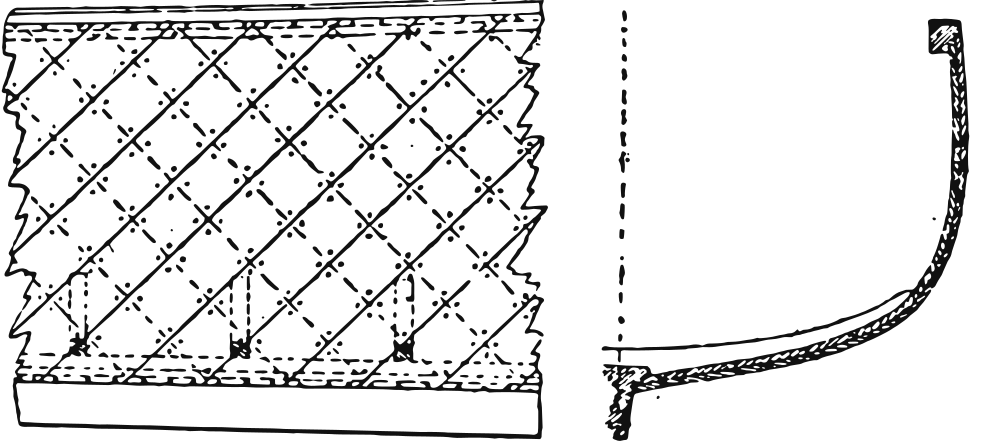
In diagonal building (Fig. 3) the planks run in a double layer at an angle of 45° from the rabbet in the keel to the rabbet in the gunwale: the inner layer slopes aft at 45°, the outer layer forward at 45°. The dotted lines show the inner layer of planking, the solid lines the outer.

Fig. 3. Diagonal build. Side view and cross-section. Dotted lines: inner layer; solid lines: outer layer.

II. The workshop and the building stock

Before we begin the actual building of a boat, the preparations — the place where it is to be set up, the building stock and so on — call for a short discussion.

Choose a covered place, a shed or the like, so that the work is not exposed to bad weather and to changes of weather. A timber shed with good light from above and from the sides, and with a floor of boards or of end-grain wood paving, will serve best.

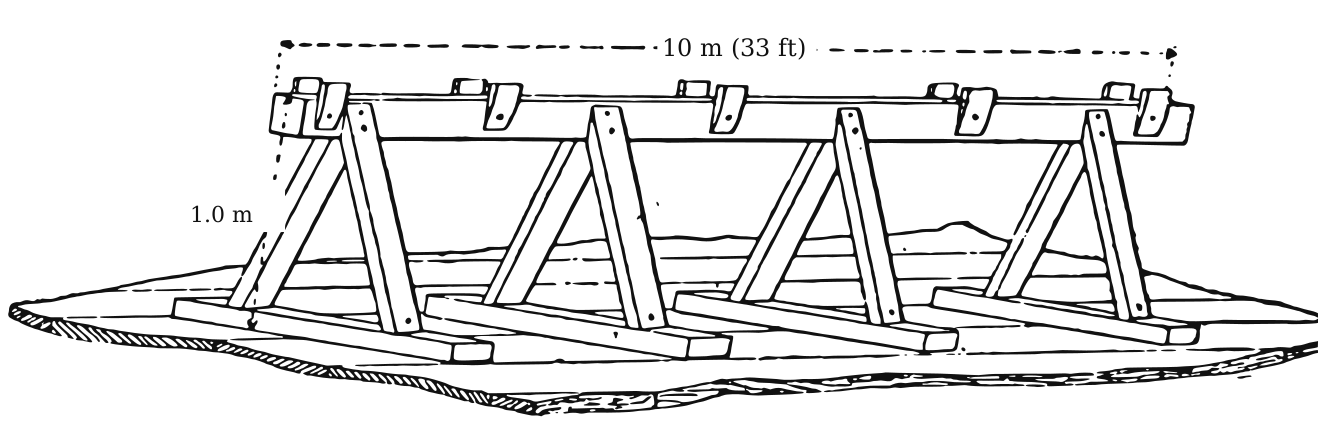
Next, a long wooden trestle — the building stock — must be made to suit the length of the boat; for the ordinary kind of pleasure boat it may be up to 10 m (33 ft) long. This stock is the base on which the boat is built, and serves the same purpose as the slipway does for a large ship. It can be made after the sketch in Fig. 4, in which the dimensions are given in metres.

Fig. 4. The building stock. Length 10 m (33 ft), height 1.0 m (3 ft 3 in).

III. Laying off the lines

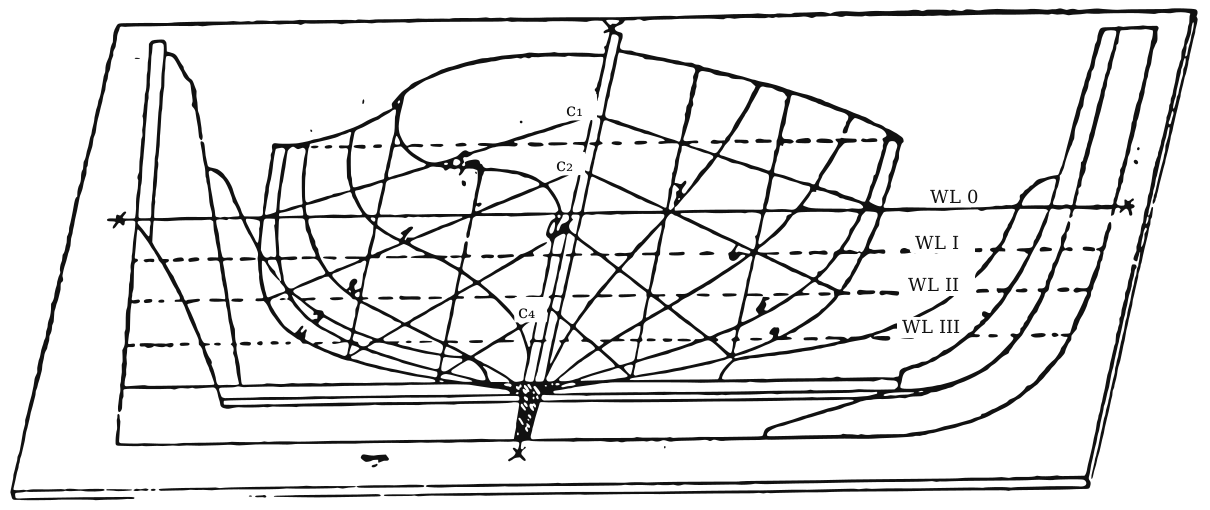
Now make a floor plan on which the body plan, the stem and the sternpost of the boat are laid off full size. Such a plan, with the body plan, stem and sternpost marked out, is shown in Fig. 5.

Fig. 5. The floor plan, with body plan, stem and sternpost laid off. WL 0 – WL III: waterlines.

IV. The moulds

The moulds can now be made. As Fig. 6 shows, they are cut from 25 mm (1 in) pine boards to the individual section lines — one mould for each frame — and joined together. Since the body plan shows only one side of the boat, two pieces must be made for each frame. To assemble the complete mould, the height and breadth of the sheer at that frame are also marked on the opposite side of the centreline, and the second half is turned over to meet this point.

Coming soon

Contents

  1. Preface